This is the place for exploration of home improvement arts, entertainment and cooking. As you can see I only have one article here but there is more to come.
My master bathroom needed renovation. The look wasn't all that great, the tub was a bit shallow and parts of the floor were feeling very soft. I had the time and the money to do the upgrade, so I did.
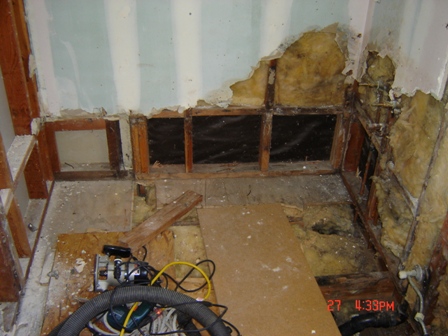
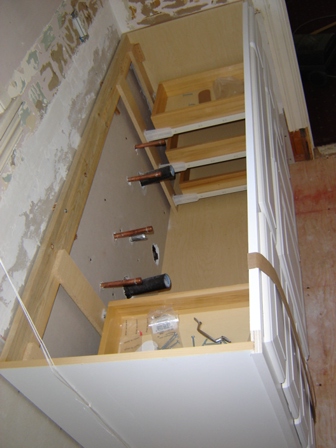
I removed the old bathtub and started tearing out the the floor.
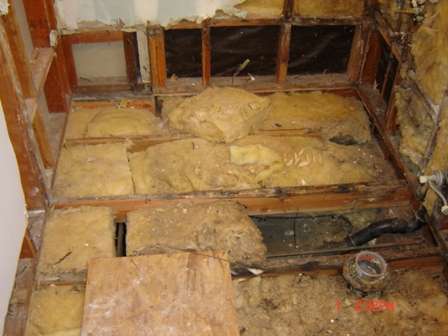
I tore it all the way down to the floor joists. With the soft and spongy nature of the wood, it sure needed it.

Having seen what a little water can do to ordinary plywood, I decided to use marine grade plywood. It's much more expensive than oriented strand board or ordinary plywood but the cost increase wasn't very significant compared to the overall cost of the renovation. I had professionals rough in the plumbing and install the tub. I decided that installing that extremely heavy tub was best left to professionals.
I installed the vanity, a relatively easy task for an amateur like myself.
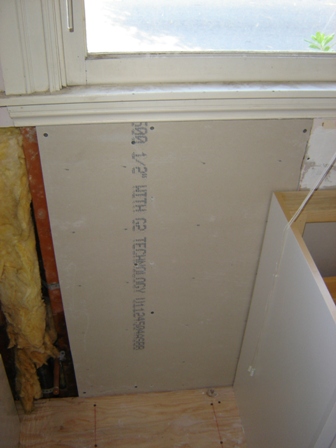
There was also a lot of drywall to be replaced.
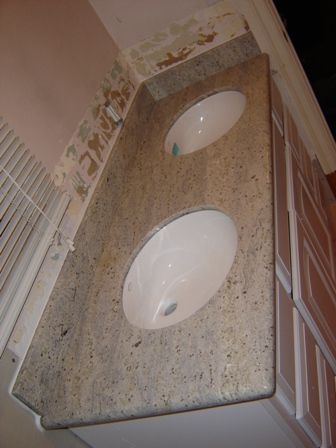
I had a professional build and install the granite counter top. One bit of advice, when choosing counter top material, take some samples home so you can see what it looks like on site. This helped me eliminate some very bad choices.
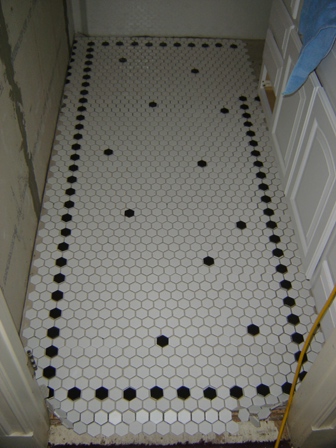
I decided that I wanted to use hexagonal tile but had yet settled on a design so I just laid it down and placed black tiles on top to get and idea of what various design might look like. The random dot style looked nice but I decided to go with a more formal design.
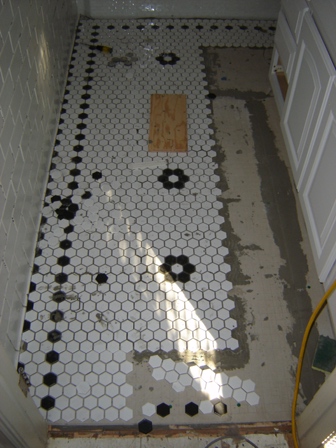
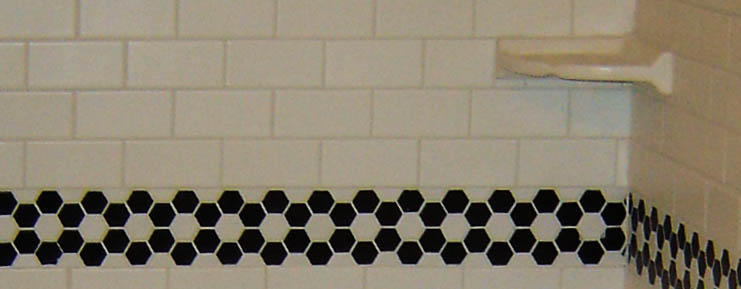
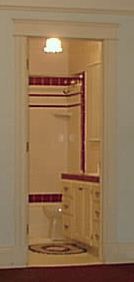
Well here is the installation. As you can see I decided to go with a formal border and tile rose design.
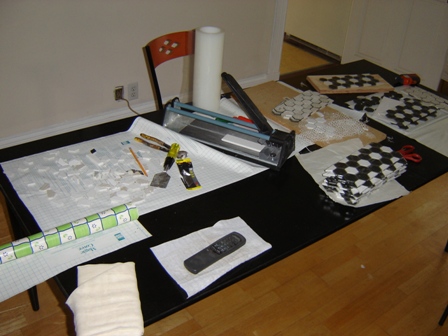
The installation involved a fair amount of tile prep and so my dining room table became a tile prep work area.
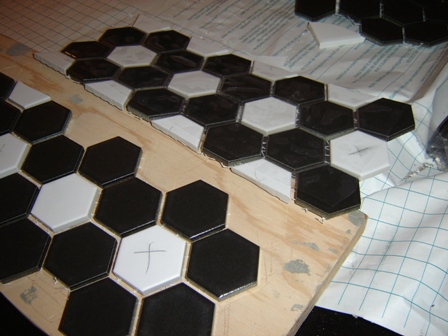
The hexagonal tile came in 1X1 foot squares with a string mesh holding them together. I had previously observed how difficult it can be to the get gaps between the tiles to be a consistent width. The problem is that the tiles will tend to move individually and so any adjustments after you lay it down are very difficult. My solution was to use tile tape. If you look carefully you'll see that the far set of tiles has clear plastic tape on it. I'd seen a mosaicist use tile tape and it did just what I hoped. It made each square or, as shown here, each group of tiled patterns move like one individual tile. I was pleased with the results.
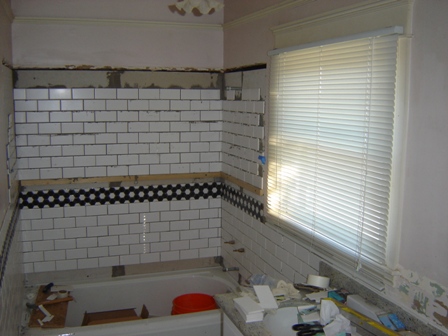
I wanted to have a nice tile border along the wall.

I'm getting close. I've got to install the shower shelves.
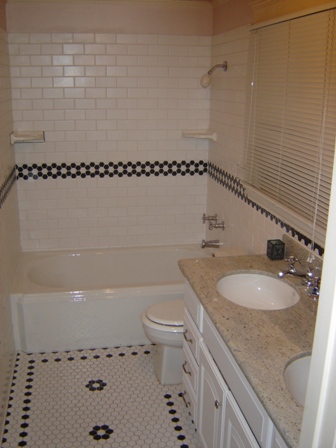
It's almost done. I've got the new spout and cross handles for the valves installed
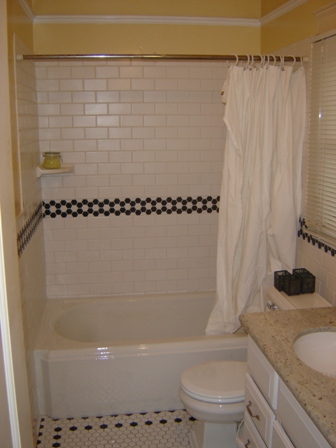
With a little paint to give it a bright a cheery look and a shower curtain, this bathroom is ready for me when I get up in the morning.